Introduction to Popsicle Stick Bird Feeders
Creating a bird feeder from popsicle sticks is a delightful project for both adults and children. It’s a craft that blends creativity with engineering, allowing you to watch your local birds come and dine right in your yard. Let’s walk through how easy it is to make a sustainable, functional, and visually appealing popsicle stick bird feeder.
In this guide, you’ll see that making a bird feeder doesn’t require professional skills or expensive materials. Instead, it calls for simple craft items and a bit of imagination. Whether you’re a craft novice or a seasoned DIYer, this project is tailor-made for an enjoyable crafting experience.
Constructing a popsicle stick bird feeder can also serve as an educational activity. It encourages children to learn about bird species, their eating habits, and how to care for wildlife. As a bonus, it ignites creativity and helps enhance fine motor skills through cutting, gluing, and assembling. Stay tuned, as we delve into the materials required and the stepwise construction of your bird feeder, teaching you to create a miniature haven for your feathered friends.
Materials Needed for Your DIY Bird Feeder
To begin constructing your popsicle stick bird feeder, gathering the right materials is essential. Here is a list of items you will need:
- Popsicle Sticks: These are the main building blocks for your bird feeder. Depending on the size and design, you might need 50 to 100 sticks.
- Hot Glue Gun and Glue Sticks: To assemble and secure the popsicle sticks. Make sure to handle the glue gun carefully to ensure safety, particularly if children are involved in the project.
- Twine or String: This will be used to hang the bird feeder from a tree or a hook.
- Birdseed: Select a mix that will attract a variety of birds to your new feeder.
- Scissors: To cut the twine to the desired length.
These simple materials can often be found at home or are easily accessible at your local craft store or online. Ensure all materials are safe and non-toxic to keep the visiting birds safe.
Building the Base of Your Bird Feeder
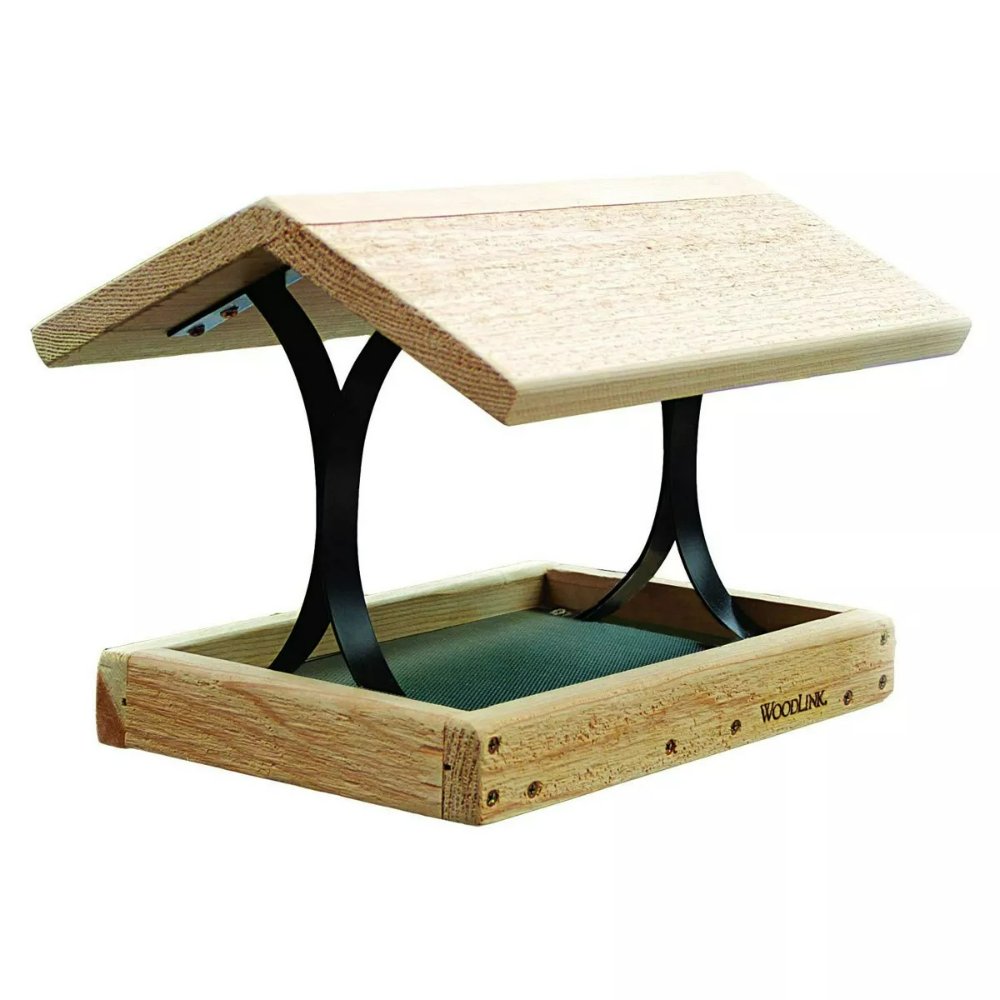
The foundation of your popsicle stick bird feeder is crucial for a sturdy structure. Begin by laying popsicle sticks flat, side by side, to form a solid square or rectangular base. How many sticks you’ll need depends on the size of feeder you desire. Ensure that a perpendicular stick overlaps at the edges when placed atop the base layer. Secure these overlapping sticks with a dab of hot glue from your glue gun.
Next, reinforce this base by adding another layer of sticks. This time, they should run parallel to the initial perpendicular stick. Alternating the direction of sticks in each layer adds strength to the base. Repeat the gluing process for this second layer, creating a crisscross pattern. Repeat these steps until you achieve your preferred base thickness.
Remember, the stability of your feeder starts here, so take care to align the sticks neatly. Use just enough glue to hold the sticks together without making a mess. Children may need adult supervision, especially when using the hot glue gun. Once the base is assembled, you’re ready to move on to the next stage: constructing perches and building walls.
Creating Perches and Walls
Once the base of your bird feeder is ready, the next step is to create a space for the birds to perch and to construct the walls that will hold the birdseed. Here are simple instructions to follow:
Crafting the Perches
- Select two popsicle sticks for the perch.
- Glue each stick on opposite sides of the base, extending outward. This design allows birds to rest and feed comfortably.
Constructing the Walls
- Begin building the walls by gluing sticks vertically around the base’s edge.
- Place sticks alternately, changing direction with each layer to make the walls stronger.
- Continue this process until your feeder has reached the desired height.
Remember to apply the glue carefully to keep the feeder neat. The key is to ensure stability and provide enough space for the birdseed. Children should have an adult help with the hot glue gun for safety. With the perches in place and the walls built up, your popsicle stick bird feeder is almost complete. The final step is to add a roof, which we will cover in the next section, ensuring your feathered guests stay dry while they eat.
Attaching the Roof and Finalizing Structure
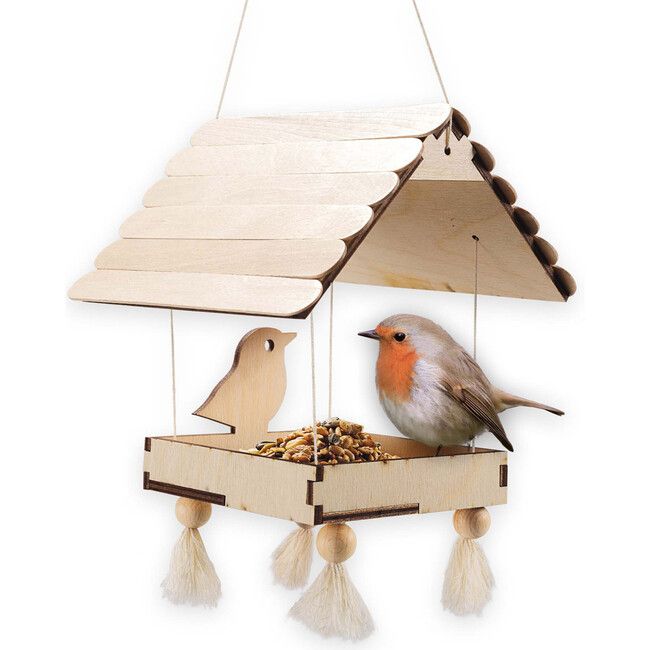
Adding a roof to your popsicle stick bird feeder gives it a finished look. It also protects the birdseed from getting wet. Here’s how to create a simple slanted roof and put the final touches on your bird feeder:
Building the Roof
- Lay out pairs of popsicle sticks in a ‘V’ shape to resemble a pitched roof.
- Use your hot glue gun to attach these sticks together at the peak and base.
- Once you have two ‘V’ shapes, connect them at the top to make your roof.
Securing the Roof
- Apply a bead of glue along the top edges of your feeder walls.
- Carefully place the roof on top, pressing gently to ensure it sticks well.
Final Touches
- Trim any excess twine or glue strings that may be hanging.
- Make sure there’s no sharp edges that could harm the birds.
- Double-check that all glued areas are secure and strong.
With the roof attached and all details checked, your popsicle stick bird feeder structure is complete. Take pride in your DIY project, knowing it’s not only a craft but also a help to local wildlife. Next, we’ll discuss how to hang your new bird feeder for your feathered visitors to enjoy.
Hanging Your Popsicle Stick Bird Feeder
Once you’ve finished constructing your popsicle stick bird feeder, the next important step is to hang it in a location where birds can easily access it and you can enjoy birdwatching. Here’s a simple guide to help you hang your feeder effectively:
- Select a spot that’s visible from a window so you can watch the birds. Choose a location that’s near trees or shrubs to provide quick shelter for the birds.
- Cut a length of twine or string long enough to hang the feeder from a branch or hook. It should be high enough to keep the feeder away from ground predators.
- Tie the twine securely to each corner of the feeder’s top. Ensure knots are tight so the feeder stays balanced.
- Bring the ends of the twine together above the feeder and tie them into a strong loop. This loop is where you’ll hang the feeder from.
- Hang the feeder on a sturdy branch or a dedicated bird feeder stand. Make sure it’s level so the seeds don’t spill.
- Check the feeder regularly to ensure it is secure and refill it with birdseed as needed.
Proper placement of your popsicle stick bird feeder will not only bring joy to your feathered friends but also provide you with endless opportunities to observe and learn about local bird species. Keeping it filled with seeds and properly maintained will ensure that birds continue to visit your homemade feeder.
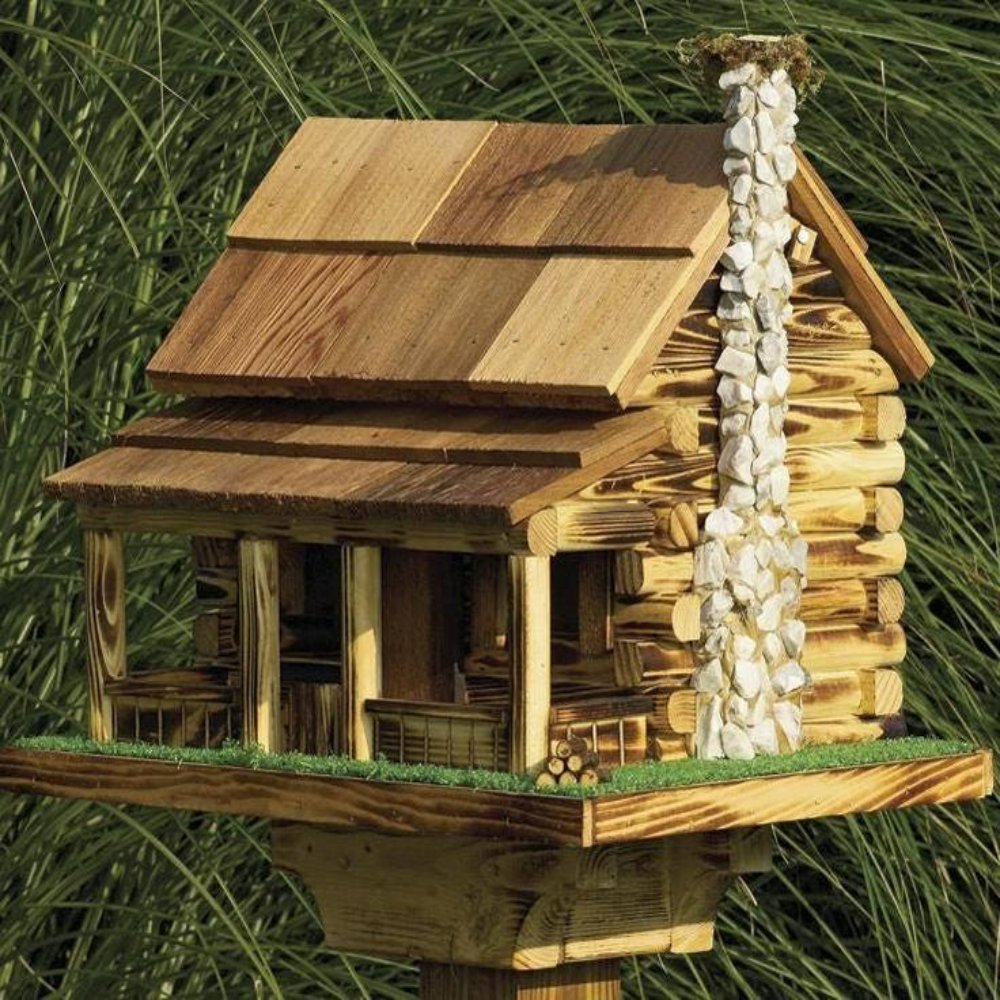
Alternative Popsicle Stick Bird Feeder Designs
Exploring alternative designs can add variety and challenge to your DIY popsicle stick bird feeder projects. Here are two creative variations you might consider:
The Diamond Design
For a more geometric flair, try creating a diamond-shaped base for your bird feeder. Begin by angling four popsicle sticks so that each end overlaps slightly with the next, forming a diamond. Glue these sticks at the junctions. Build up the walls by adding more sticks in layers, following the diamond outline. This design minimizes the use of space and provides an appealing aesthetic that differs from the traditional rectangular or square shapes.
The Multi-Level Feeder
This design allows for multiple feeding points, which can attract a greater number of birds. Start by constructing a standard square base. Then, divide the feeder into two or three sections by adding horizontal layers of sticks. Ensure each section is shallow enough to hold birdseed but deep enough to prevent spillage. This multi-level approach not only enhances the feeder’s functionality but also its visual interest.
Both designs allow room for customization in terms of the size and the number of layers. They cater to various bird species and can be modified depending on the type of birdseed used. Encourage creativity and modification in these designs to make each bird feeder uniquely yours.
Maintaining and Protecting Your Bird Feeder
Proper maintenance is key to keeping your popsicle stick bird feeder in good shape. Here are some simple tips:
- Regular checks: Inspect your bird feeder often to make sure it’s intact and safe for birds.
- Cleanliness: Empty old seeds and debris to prevent mold and attract fresh birds.
- Repairs: Use hot glue for any loose sticks or parts that may have come undone.
- Stability: Ensure the feeder hangs securely and doesn’t sway too much in the wind.
- Refills: Keep the feeder stocked with birdseed to continuously invite feathered friends.
- Weather protection: Position the feeder under a tree canopy to shield it from harsh weather.
By staying on top of these maintenance tasks, you ensure a durable and welcoming spot for birds. Moreover, protecting your feeder also means being mindful of predators.
To prevent unwanted visitors:
- Location: Hang the feeder higher to discourage cats and other predators.
- Guard: Consider a squirrel guard to stop squirrels from raiding the birdseed.
- Observation: Watch for signs of predator activity and adjust the feeder’s position if needed.
With these steps, your popsicle stick bird feeder remains a safe haven for birds year-round.
