I. Introduction to Making a Chicken Feeder

A. Understanding the Importance of a Well-Designed Chicken Feeder
A well-designed chicken feeder is essential for ensuring that your flock has easy access to a fresh and continuous supply of feed. It plays a crucial role in maintaining the health and well-being of your chickens, allowing them to access their feed without spilling or contaminating it. A suitable feeder also helps to reduce waste and ultimately saves you money on feed costs. Whether you have a small backyard flock or a larger chicken operation, the importance of a well-designed feeder cannot be understated.
B. Benefits of Using a DIY Chicken Feeder
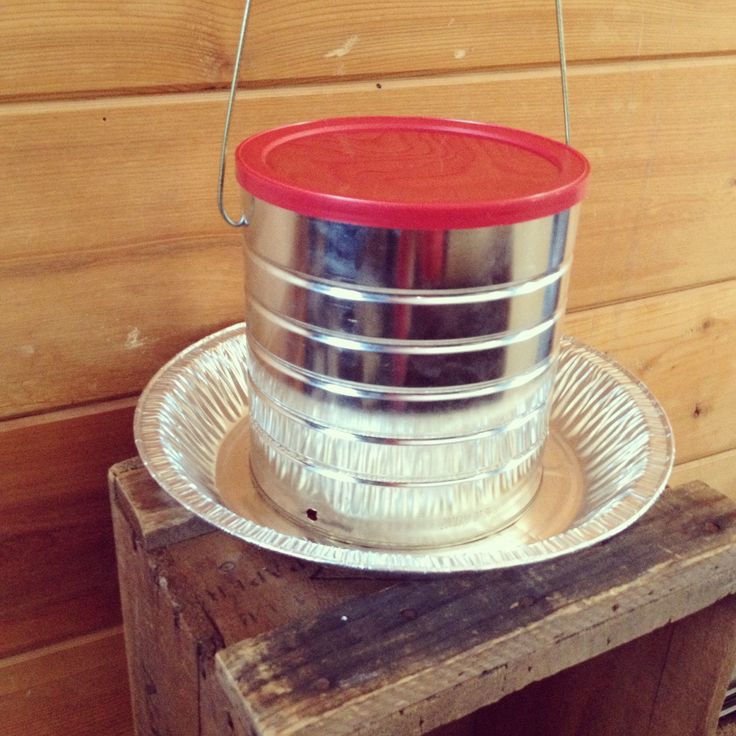
There are numerous benefits to using a DIY chicken feeder. One of the primary advantages is the ability to customize the feeder to meet the specific needs of your flock. DIY feeders can be tailored in terms of size, capacity, and feeding mechanisms, catering to the unique requirements of your chickens. Additionally, building your own feeder can be a cost-effective alternative to purchasing pre-made feeders. It allows you to repurpose materials and exercise your creativity while providing a functional and efficient feeding solution for your chickens.
II. Selecting Materials and Tools for Your DIY Chicken Feeder
A. Choosing the Right Materials for a Chicken Feeder
Selecting the right materials is a crucial step when creating a DIY chicken feeder. The chosen materials should be safe, durable, and suitable for outdoor use to ensure the feeder’s longevity and the well-being of your chickens.

- Wood:
It is a popular choice for crafting chicken feeders due to its natural and robust properties. Cedar and redwood are highly resistant to decay and insect damage, making them ideal for outdoor feeders. When using wood, ensure it is untreated to prevent any harmful chemicals from leaching into the feed. - PVC:
PVC pipe and fittings are commonly used to create feeders due to their affordability and weather-resistant properties. They are easy to work with and can be adapted to various feeder designs. Ensure that the PVC used is food-grade and free from harmful substances. - Galvanized Steel:
This durable material is suitable for creating robust feeders. It is resistant to rust, making it a long-lasting option for outdoor feeders. However, be cautious when using galvanized materials as they can present a risk of zinc poisoning if the coating wears off.
B. Essential Tools for Building Your Chicken Feeder
Having the right tools is essential for constructing a functional and well-crafted chicken feeder. The specific tools required can vary depending on the chosen design and materials, but some essential tools commonly used in building chicken feeders include:
- Saw: A saw is essential for cutting and shaping the selected materials to the desired dimensions, whether it is wood, PVC, or metal.
- Drill: A drill is necessary for creating holes for fasteners, attachments, and hardware, such as brackets or hinges, as well as for assembly purposes.
- Measuring Tape: Accurate measurements are critical for ensuring the feeder’s proper size and capacity, making a measuring tape an indispensable tool.
- Screws and Fasteners: It is important to have an assortment of screws and fasteners suitable for the chosen materials to secure components during construction.
- Sandpaper: When working with wood or other materials, sandpaper helps in smoothening rough edges and surfaces, ensuring the feeder is safe for the chickens to use.
-
Safety Gear: Safety goggles, gloves, and a dust mask are important to protect yourself during construction, especially when cutting or drilling materials.
III. Designing Your DIY Chicken Feeder
A. Determining the Size and Capacity of the Feeder
When designing a DIY chicken feeder, the size and capacity of the feeder are critical factors to consider. The feeder should be able to accommodate the number of chickens in your flock, providing enough feeding space for each bird. Considering the flock’s growth or the addition of new chickens is important when determining the feeder’s size. Additionally, the feeder’s capacity should be sufficient to hold an adequate supply of feed, minimizing the need for frequent refilling while preventing feed spoilage.
B. Considering Different Feeder Designs and Styles
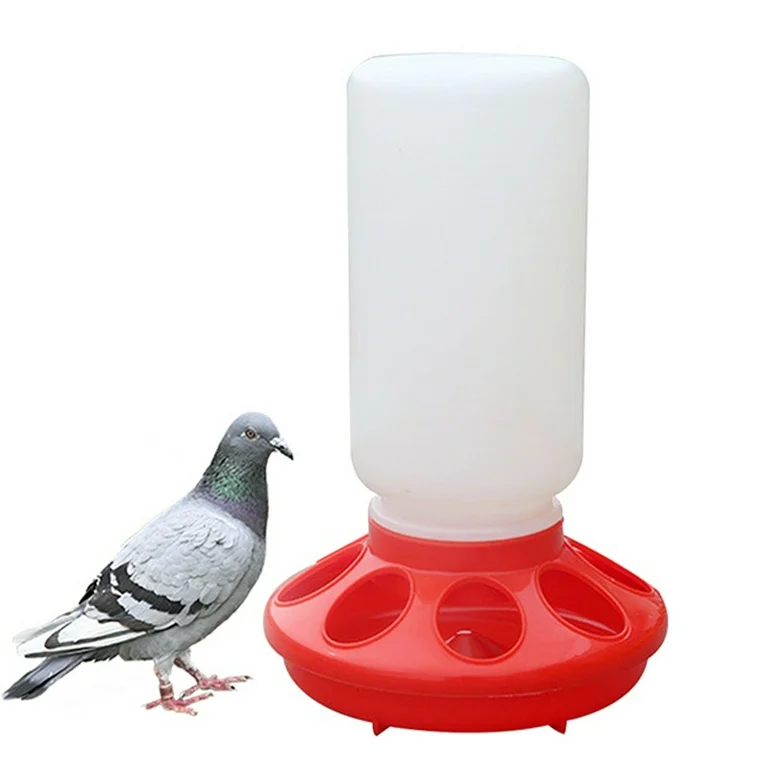
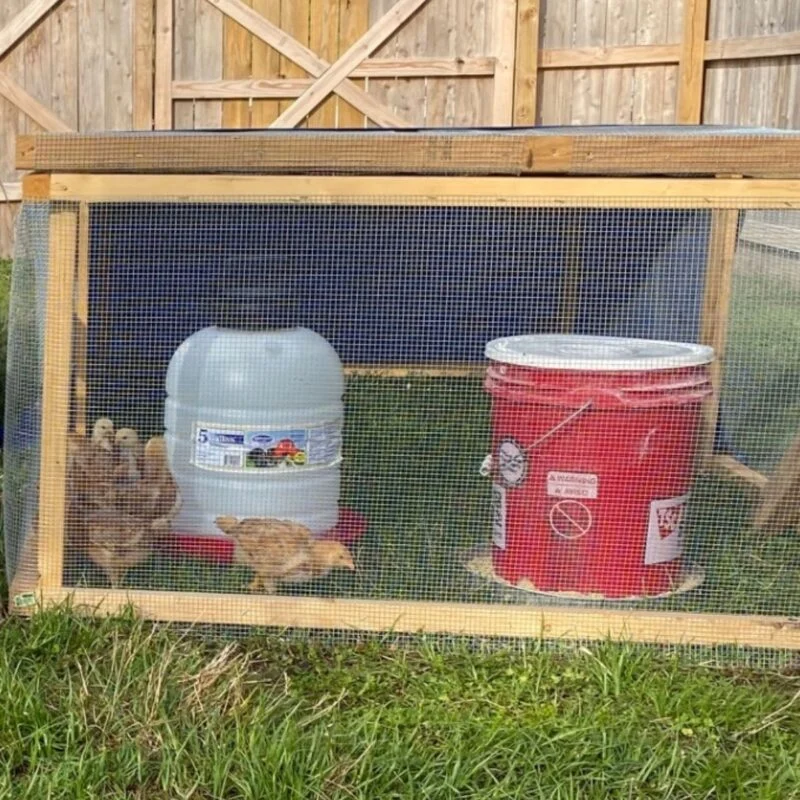
There are various feeder designs and styles to consider when creating a DIY chicken feeder. The choice of design can impact factors such as feed accessibility, spillage, and ease of cleaning. Some common feeder designs include treadle feeders, gravity-fed tube feeders, trough feeders, and pan feeders, each with its unique advantages. It’s important to evaluate the pros and cons of each design to determine the most suitable option for your specific needs and flock size.
IV. Building Process of Your DIY Chicken Feeder

A. Step-by-Step Instructions for Constructing the Feeder
The building process of a DIY chicken feeder involves several steps to ensure the successful construction of a functional and efficient feeding solution. Firstly, you’ll need to gather the necessary materials and tools, then proceed to measure, cut, and assemble the feeder components according to the chosen design. Depending on the complexity of the feeder, additional steps may include attaching feed tubes, adding perches, or incorporating lids to protect the feed from environmental elements. Ensuring that each step is executed accurately is crucial for the feeder’s overall effectiveness and longevity.
B. Tips for Ensuring Durability and Practicality
To guarantee the durability and practicality of your DIY chicken feeder, focus on reinforcement and weatherproofing. Using sturdy materials and secure construction methods will contribute to the feeder’s longevity and resistance to damage caused by pecking, gnawing, or environmental factors. Additionally, incorporating features that facilitate cleaning, such as removable lids or trays, will simplify maintenance and ensure the feeder remains in optimal condition. It’s also essential to test the feeder’s functionality and make any necessary adjustments before introducing it to the flock, ensuring it meets the intended purpose effectively.
V. Introducing the Chicken Feeder to Your Flock
A. Placing and Familiarizing Chickens with the Feeder
Once the DIY chicken feeder is constructed, it is vital to introduce it to your flock in a way that encourages acceptance and familiarity. Placing the feeder in a central and accessible location within the coop or outdoor area allows the chickens to become accustomed to its presence. Additionally, adding some feed around and inside the feeder can attract the curiosity of the chickens, enticing them to investigate and discover the feed source. This gradual introduction can help reduce any apprehension and encourage the flock to accept the feeder as part of their environment.
B. Monitoring and Adjusting Feeding Behavior
After introducing the feeder, monitoring the flock’s feeding behavior is crucial to ensure they are adapting positively. Observing the chickens during feeding times allows you to assess their comfort with the feeder and determine if any adjustments are necessary. It is important to watch for signs of aggression or competition around the feeder, as well as to ensure all chickens are able to access the feed easily. Making any necessary modifications to the feeder, such as adjusting its height or adding extra feeding stations, can help create a balanced and stress-free feeding environment for the entire flock.
In conclusion, understanding the importance of a well-designed chicken feeder and recognizing the benefits of using a DIY feeder lays the groundwork for creating a functional and efficient feeding solution for your flock. By carefully selecting the right materials and tools, you can embark on the process of building a customized chicken feeder that meets the unique needs of your chickens while providing long-term benefits for both you and your feathered companions.


